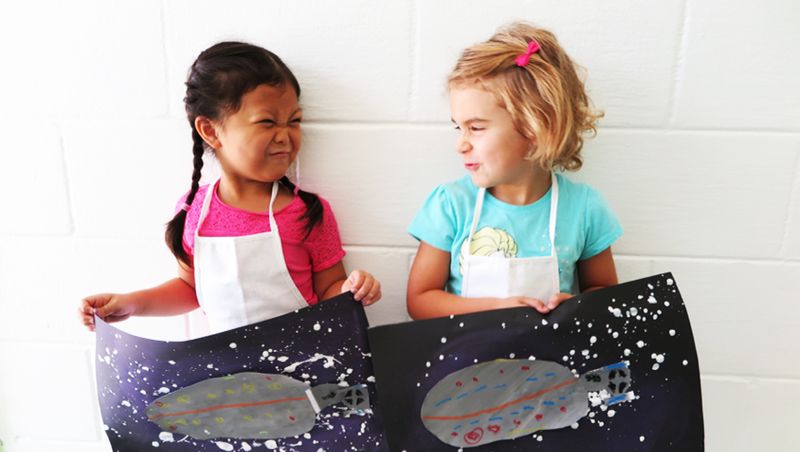
Galaxy Buck Spaceship Craft
Galaxy Buck: Mission to Sector 9 is a wild, galactic adventure that teaches kids a powerful lesson about trusting God with everything – even our dreams! From VeggieTales® and What’s in the Bible? creator Phil Vischer, Galaxy Buck is available to stream on right here, and to continue the fun off-screen, we have some super-fun crafts for you to do with your kids. You can use them as part of a family movie and craft night, a viewing party with friends or any other fun, creative way you want!
Haven’t seen Galaxy Buck? Start your free trial today and enjoy Galaxy Buck and tons of other Christian shows and movies for your family.
Below you’ll find the supplies and instructions for your kids to make their very own Galaxy Buck Spaceship. You can download a PDF of the Galaxy Buck Spaceship Craft instructions here.
Supplies
- Black paper
- Chalk (chalk pastels or just sidewalk chalk will do, too)
- White paper
- White and black paint
- Paintbrush
- Cup
- Water
- Crayons, oil pastels, or markers (we used oil pastels)
- Glue
- Scissors
Optional: tissue or paper towel
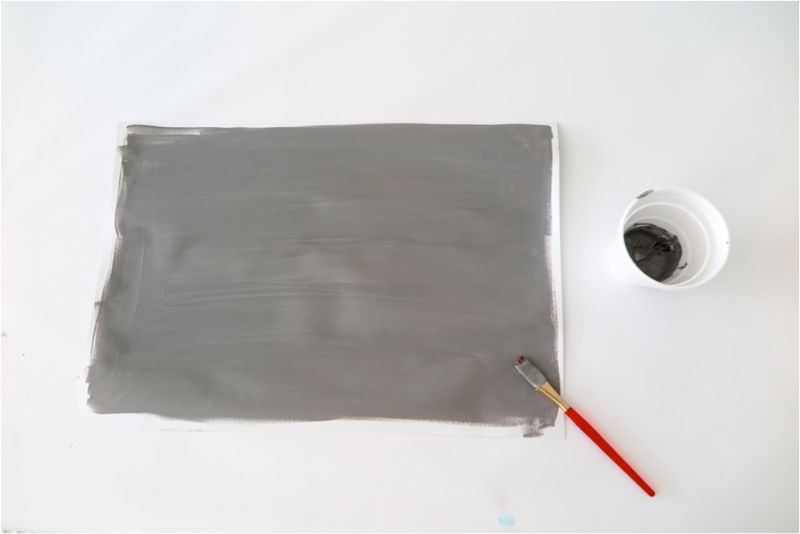
Step 1 – Create your grey paper!
Put a bit of white and black paint into a cup.
Mix it together until you have a medium grey.
Paint the entire white sheet of paper grey.
Set aside to dry.
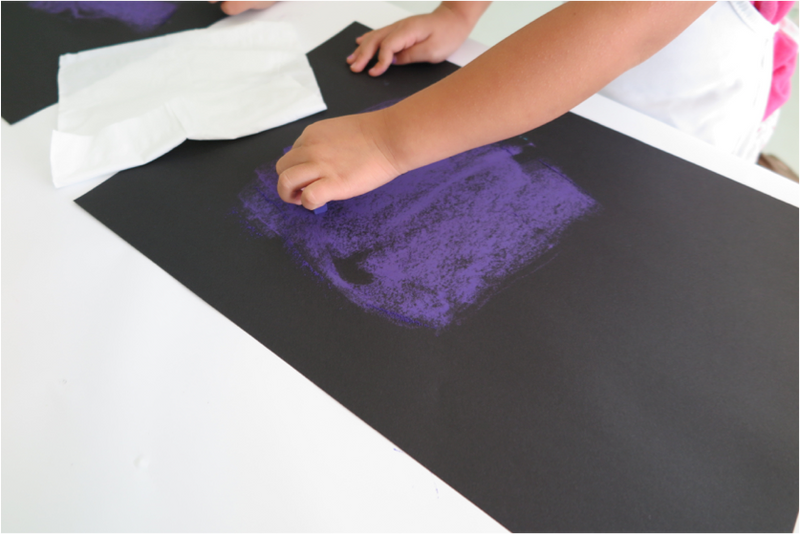
Step 2 – You will now use your black sheet of paper for the next few steps.
Take your chalk pastel a rub it on your black paper. We used purple, but in the past, my students have chosen many different colors.. it always looks beautiful!
I always tell my students to use the flat (long) side of the chalk so that they aren’t “drawing.”
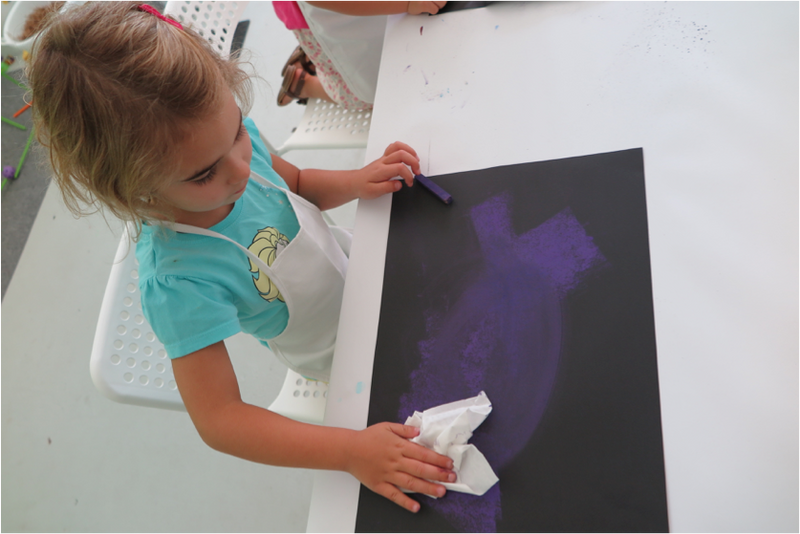
Once you have the desired amount of color on your paper, use a tissue or paper towel to smear the chalk.
You can use your hand too if you are feeling up to the mess!
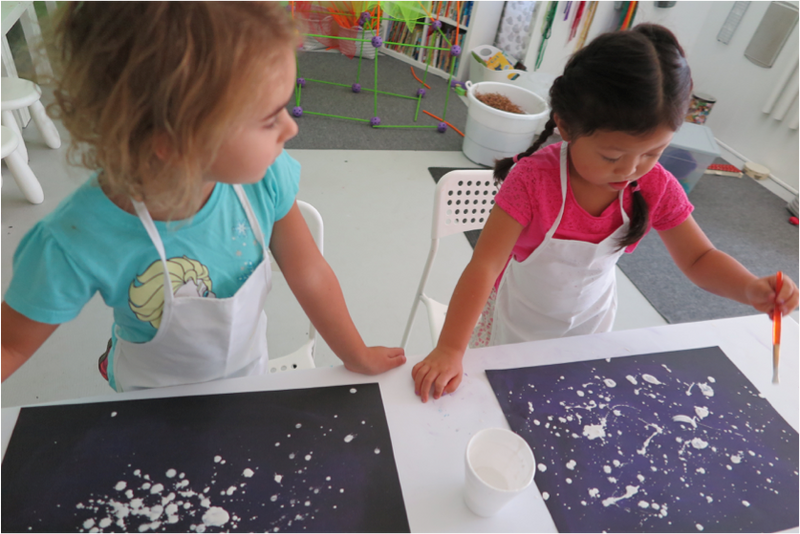
Step 3 – Put some white paint in a cup and mix it with a little bit of water (you just need a drop of two of water).
Use your brush and a flick of the wrist to splatter paint beautiful stars!
Set this paper aside to dry.
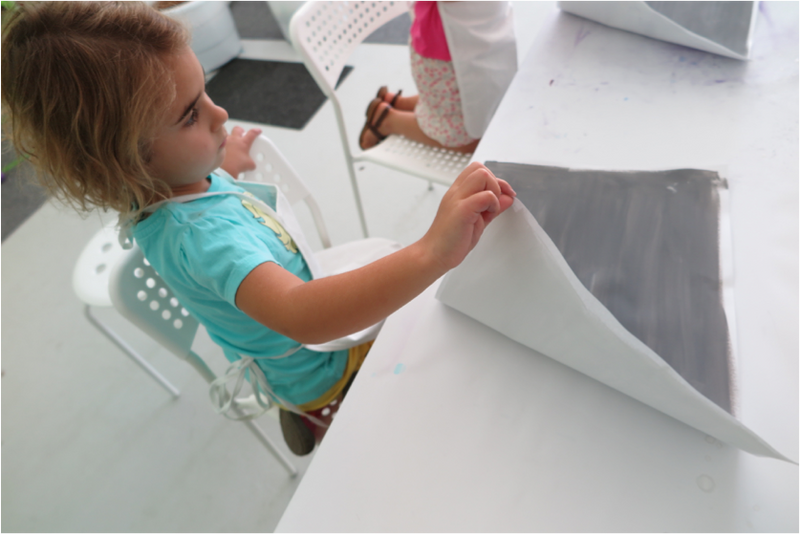
Step 4 – It’s time to use that painted-gray paper again!
I have my students flip the paper over and draw their shapes on the back, so that when they cut out their shapes, you don’t see any pencil marks.
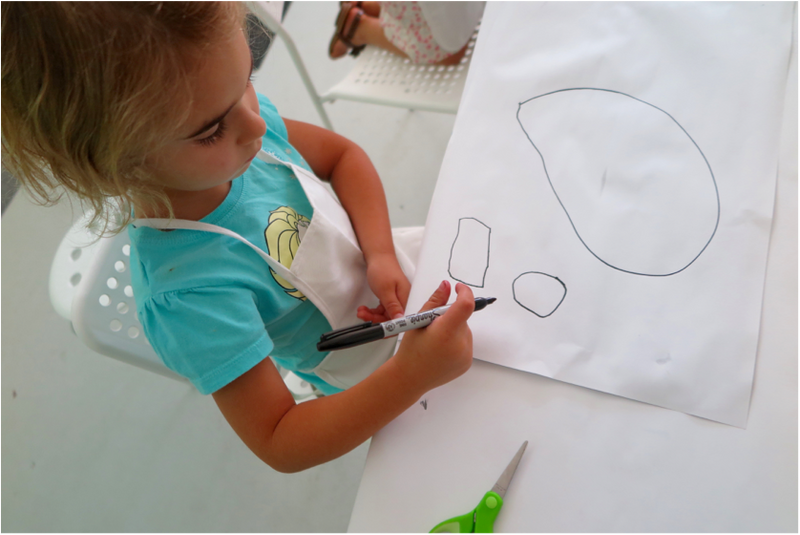
Use a marker or pencil to draw three shapes on the back of your paper: a very large oval, a rectangle/cylinder, and a circle.
While it’s tempting to let your child trace shapes for perfection, I suggest letting them draw the shape on their own! Break it down to each line if you need to.
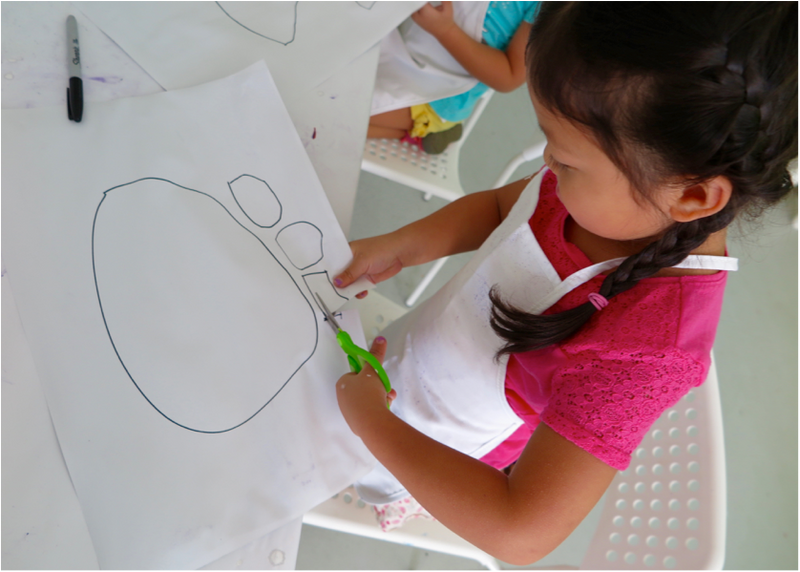
Step 5 – Cut out your shapes and glue them to your black paper.
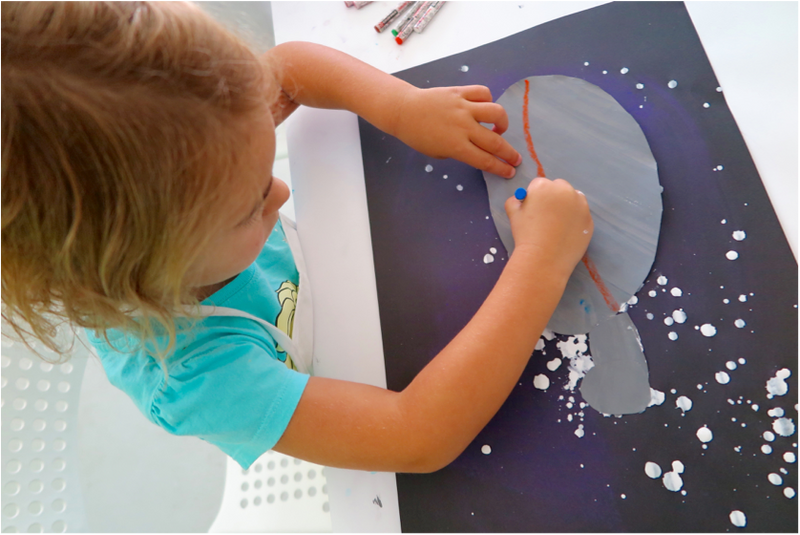
Step 6 – Use your oil pastels, crayons, or markers to add details!
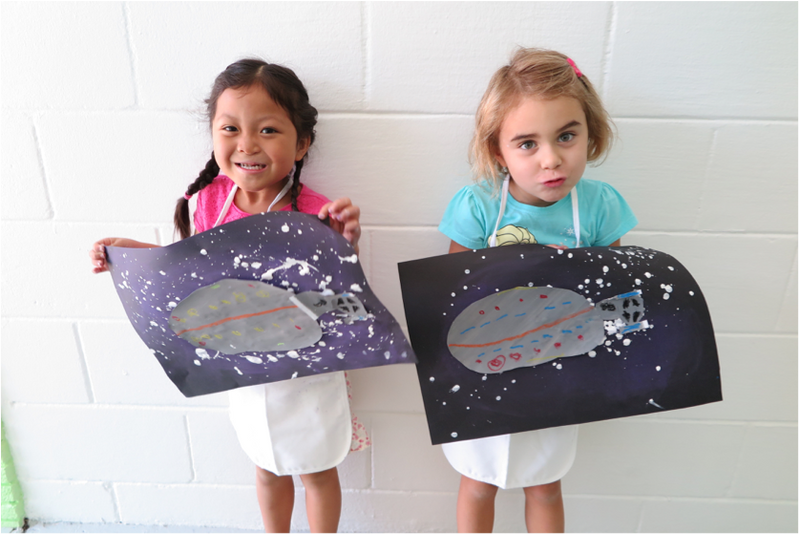
The completed spaceship!
April Hohne is a graduate of Belmont University who began working as an Arts Specialist after college. A certified teacher in the areas of Music, Art and ESL, April loves guiding children through the journey of creating. She operates the Green Elephant Arts Studio in the Nashville, TN area.